
Making a Small Bee House from Offcuts
Why Solitary Bees Need a Hand
Solitary bees are the quiet workhorses of the garden. Unlike honeybees, they do not live in hives or produce honey. Each female makes her own nest, usually in a hollow stem, a crack in a wall, or an old beetle hole in dead wood. In a tidy modern garden, those small nesting sites are often in short supply. The good news is that you can help with a few offcuts of untreated timber and a drill. A small bee house is one of the most rewarding afternoon projects you can make, and it costs almost nothing if you already have a few scraps.
Choosing the Right Timber
Use untreated wood only. Pressure-treated or tanalised timber contains chemicals that can harm developing bees. Avoid plywood, MDF and chipboard too, as the glues and resins are not bee-friendly. Hardwoods such as oak, ash or beech will last for many years, but softwoods like pine or fir are perfectly fine and easier to drill. Aim for a block at least 100mm deep, ideally 150mm. This gives the bees a safe tunnel and enough solid wood behind the nest. Cut your offcut into a block roughly 150mm to 200mm long and 100mm to 150mm wide. Sand the front face smooth so bees do not snag their wings, then brush away all dust.
Drilling the Holes
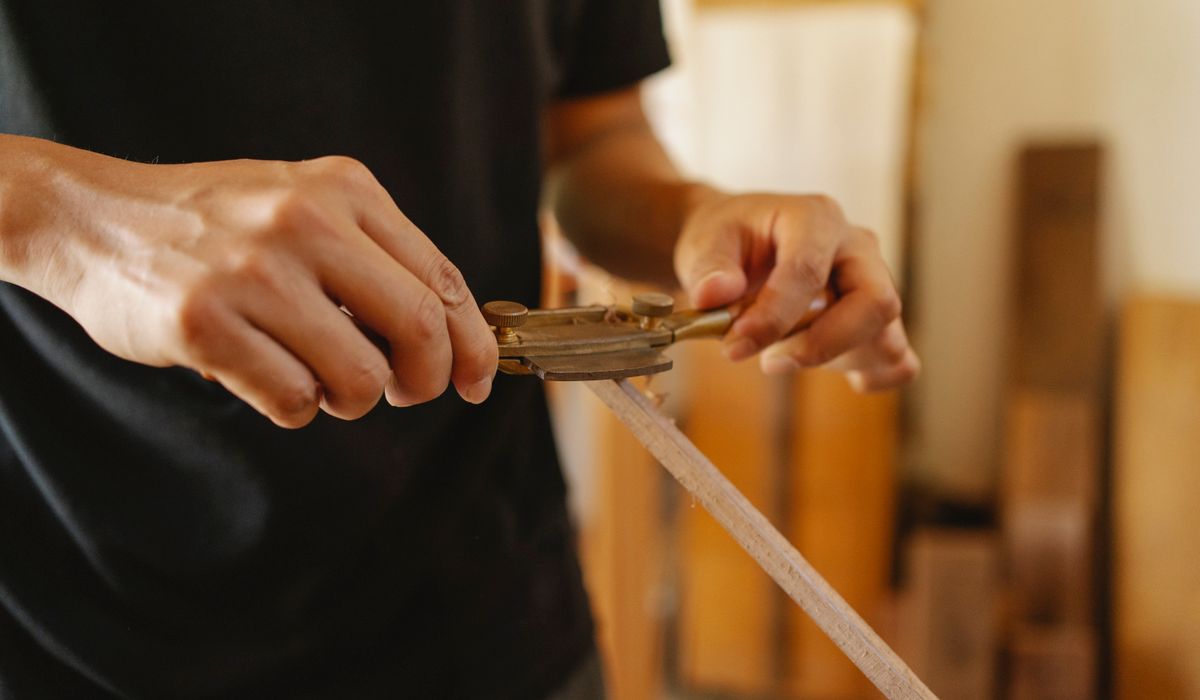
This is the part that matters most. Solitary bees come in many sizes, so variety is key. Use sharp drill bits in a range of sizes, from 2mm up to 10mm. A 6mm bit is a good starting point, but mix them up. Drill holes between 80mm and 120mm deep, but do not drill all the way through the block. Stop before you break through the back. Space the holes about 15mm to 20mm apart and keep them at least 10mm from the edges. Clamp the timber firmly to a workbench before you start. Drill straight and steady. Clean out each hole with a bottle brush or a burst of air to remove sawdust. If you have a bradawl, use it to make a small start point so the bit does not wander.
- Use sharp bits and let the drill do the work.
- Vary hole sizes: 2mm, 4mm, 6mm, 8mm and 10mm.
- Avoid drilling through the back of the block.
- Clean out every hole before mounting.
Mounting and Siting Your Bee House
Position is everything. Fix your bee house to a sunny wall or garden fence that faces south or south-east. It should get morning sun but be sheltered from strong winds and driving rain. Mount it at least one metre off the ground, ideally between one and two metres. Tilt the block forward very slightly, about five degrees, so rainwater runs off rather than into the holes. Use a couple of screws through the back, or a small bracket. Avoid placing it near a bird feeder or a busy bird perch. Bees need peace and a clear flight path.
Looking After Your Bee House
Once it is up, the best thing you can do is leave it alone. Solitary bees are active from early spring through to late summer, depending on the species. Do not clean out the holes while bees are using them. In autumn, after activity stops, you can gently brush away any debris or cobwebs from the surface, but do not poke inside the tunnels. Over winter, leave the block in place. The bees inside are dormant and will emerge when the weather warms. If the wood becomes cracked or holes become blocked with mud, you can replace the block with a fresh one every two or three years. Do not move it once bees have started nesting.
A Few Final Pointers
Patience is part of the pleasure. A new bee house may sit empty for a season before bees find it. That is normal. If you want to give them a helping hand, leave a patch of bare earth nearby for mason bees, which use mud to seal their nests. Avoid bamboo canes, which can trap damp and grow mould. Stick with solid timber and clean holes. And remember: you are not just making a shelter. You are creating a small, quiet habitat that will reward you with better pollination and hours of gentle observation. Once you have made one, you will probably want to make another from the next offcut.
tag: Woodwork

Gareth Llewellyn Author
Gaps in sash windows and frames can be reduced with brush seals, draught excluders and careful filling without damaging original features.
YOU MAY ALSO LIKE

Fixing Common Draughts Around Older Windows
Aug 25
10Preparation, a foam roller and thin coats of satin paint help you achieve a smooth finish on panelled or flush interior doors.
read more
Painting Interior Doors Without Brush Marks
Aug 23
10Locate studs or use heavy-duty fixings, level the shelf carefully and hide the supports for a tidy result in any room.
read moreCraft Basics
-

ERRIC CATONA
Adjustable lamps, under-cabinet strips and brighter bulbs can make sewing, reading and close work easier during darker evenings.
May 19, 2016 at 5.12 pm
Reply
ERRIC CATONA
Dismantle a clean pallet, sand the boards and attach sturdy hooks to create a rustic rack for coats, bags and keys.
May 19, 2016 at 5.12 pm
Reply -
ERRIC CATONA
Cleaning, light sanding and a thin coat of wax can bring dull tables and chairs back to life without harsh chemical strippers.
May 19, 2016 at 5.12 pm
Reply
Woodwork
Your email address will not be published.