
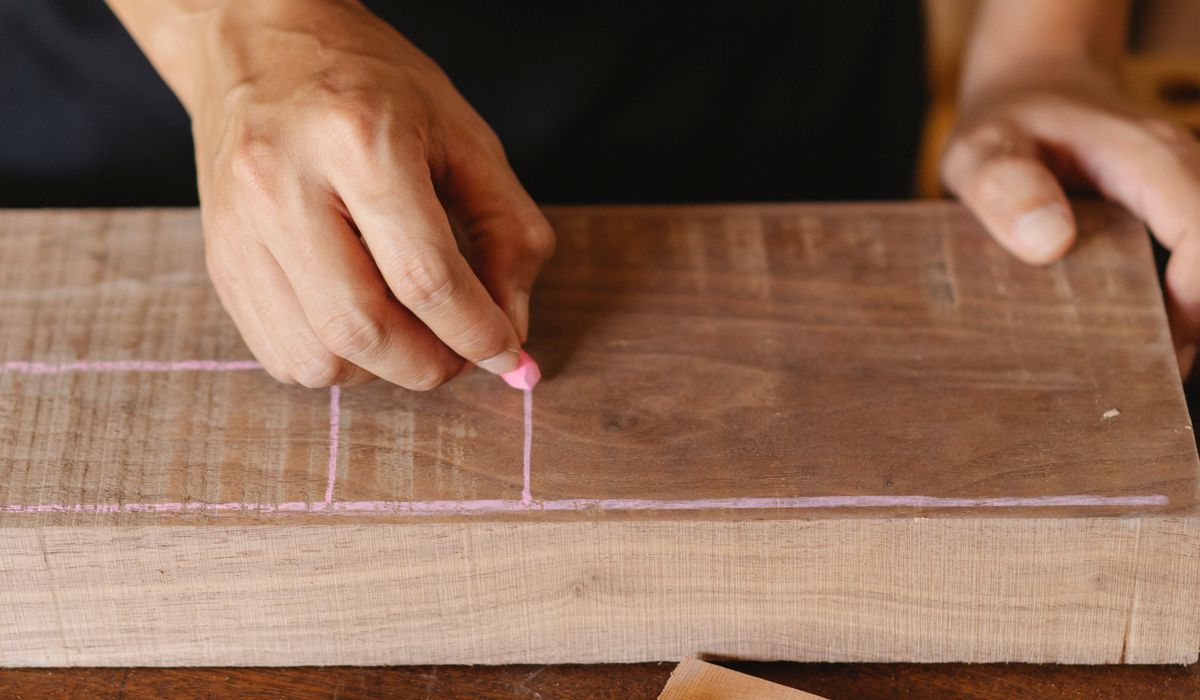
Painting Interior Doors Without Brush Marks
Why brush marks appear — and how to avoid them
A smoothly painted door is a quiet victory. It lifts a hallway and turns a tired room into a finished one. Yet doors are where DIY paint jobs often go wrong. Brush marks, roller texture and drips in the mouldings all show up under satin, because satin reflects light just enough to reveal every ridge and lap line. The good news: a smooth finish is not about being a professional decorator. It is about preparation, a foam roller and thin coats of satin paint. Slow down, work in thin layers, and the door almost paints itself.
Preparation: the unglamorous part that makes the finish
Before you open a tin, give yourself an hour. It feels dull. It is also the difference between a finish you want to run your hand over and one you want to hide behind a coat rack.
Take the door off its hinges and lay it flat on trestles or a sturdy table. Working flat stops runs and gives you a steady surface. Remove the handle, latch and any hooks, and put the screws in a small pot. If the door has glass, tape the edges with low-tack painter’s tape.
Wash the door with sugar soap and warm water to remove grease. Rinse and dry. Fill dents and screw holes with wood filler, then sand flat. Give the door a light sand with 120-grit, then 180-grit or 240-grit. You are not stripping the old finish, just dulling it and giving the new paint a key. Vacuum away dust and wipe with a tack cloth.
- Bare wood and MDF need a suitable primer, or the first coat will look patchy.
- Previously painted doors in good condition usually need no primer, just a clean, sanded surface.
- If the old paint is glossy, sand more thoroughly. Satin paint needs something to grip.
Paint and tools: satin, foam roller and a good brush
Choose a satin paint. It is durable, wipeable and has a soft sheen that suits interior doors without the high shine of gloss. Water-based satin is low odour and dries quickly, handy for evening painting, but it can show brush marks if you overwork it. Solvent-based satin flows for longer and levels out beautifully, but it smells stronger and may yellow over time. Follow the manufacturer’s instructions.
For the roller, use a fine-cell foam roller. A fluffy roller is for walls and will leave an orange-peel texture. A foam roller leaves a much smoother surface, especially on flush doors. For panelled doors, use a mini foam roller for the flat panels and a 2-inch angled synthetic brush for mouldings, corners and edges. If you are using solvent-based paint, choose a natural-bristle brush instead.
Stir the paint thoroughly rather than shaking the tin. Shaking adds bubbles that can end up on the door. Pour a small amount into a paint kettle. If the paint feels thick, thin it very slightly according to the instructions. Thinner paint levels better. Thick paint leaves marks.
Painting a panelled door, step by step
Panelled doors have an order. Work from the inside out and from the top down. Start with the mouldings around each panel. Use your brush to paint into the recesses and corners, then smooth with a light stroke. Do not overload the brush. Next, roll the flat centre of each panel with the mini foam roller. Then paint the vertical stiles and horizontal rails. Finally, paint the edges.
- Begin with the top panels, then move to the lower panels. Gravity is not your friend if you start at the bottom.
- Ease paint out of corners with the tip of the brush, then lay off lightly in one direction.
- Roll panels in light, overlapping passes. Finish with a single, gentle pass along the panel.
- Two or three thin coats will always look better than one thick one.
Let the door dry fully between coats. Denib lightly with 320-grit paper, wipe with a tack cloth, and apply the next thin coat.
Painting a flush door without roller texture
Flush doors are a large, flat expanse, so every lap line and roller edge shows. The foam roller is your best friend, but technique matters. Work in sections: top third, middle third, bottom third. Roll the paint on in a light zigzag or W pattern, then lay it off with straight, vertical passes from top to bottom. Keep a wet edge by moving into the next section before the previous one dries. Do not press hard. Pressure pushes paint out to the sides and creates ridges.
If the door is already hung, start at the top and work downwards to catch runs. If it is flat on trestles, you have more control. Paint the edges last, using a brush for the very top and bottom edges where a roller cannot reach. Two thin coats, applied lightly, will look sprayed rather than rolled.
Drying, sanding and putting the door back
Follow the recoat times on the tin, but add extra time if the evening is cool or damp. Water-based satin is often touch-dry in an hour or two, but ready for another coat after four to six hours. Solvent-based paints need longer. Painting a door at 10pm and hanging it at midnight is how runs and smudges happen.
After the final coat, let the door cure for at least 24 hours before refitting the handle and latch. Rehang carefully and avoid closing it hard for a few days. Clean brushes and rollers with warm soapy water if you used water-based paint, or the appropriate solvent if you did not. Small imperfections can be touched in with a fine brush once dry. Then stand back and enjoy the quiet, smooth, satin finish — and start eyeing up every other door in the house.
tag: Home DIY

Gareth Llewellyn Author
Locate studs or use heavy-duty fixings, level the shelf carefully and hide the supports for a tidy result in any room.
YOU MAY ALSO LIKE

Installing a Basic Shelf with Concealed Brackets
Aug 21
10Adjustable lamps, under-cabinet strips and brighter bulbs can make sewing, reading and close work easier during darker evenings.
read more
Simple Ways to Improve Task Lighting at Home
Aug 19
10Dismantle a clean pallet, sand the boards and attach sturdy hooks to create a rustic rack for coats, bags and keys.
read moreCraft Basics
-

ERRIC CATONA
Cleaning, light sanding and a thin coat of wax can bring dull tables and chairs back to life without harsh chemical strippers.
May 19, 2016 at 5.12 pm
Reply
ERRIC CATONA
Washed jars can hold screws, nails, brushes and small offcuts, with lids screwed to a shelf for easy access.
May 19, 2016 at 5.12 pm
Reply -
ERRIC CATONA
Sort leftover cotton pieces by colour, sew simple squares together and back with a plain fabric for a useful cushion cover.
May 19, 2016 at 5.12 pm
Reply
Woodwork
Your email address will not be published.